Day 1
Activity 1: A Tool and Its Function
Begin this lesson by asking: “What is a tool? Can you give me an example of a tool? Can you explain how a tool works?” Select a read-aloud story from the Materials list or a story on a similar topic. Read aloud stopping periodically to allow for partner discussion. To check for meaning and understanding, select one or two students to share what they and their partner discussed. Ask again “What is a tool? Can you give me an example of a tool?” Listen to student responses and note different responses. Write the word tool on the board. Ask students to develop a working definition of a tool based on what they have heard from others and what they have read. Record their responses next to the word Tool. Note: You want the working definition to be close to the definition listed at the beginning of this lesson.
After students have given examples of various tools and created a definition for tools, select one tool and ask: “Can you explain how a tool works?” Listen as students describe how the tool works. Write the word Function on the board. Tell students that the word Function means how a tool works. Now focus students’ attention on the function of tools. Say, “Let’s think of some words that can help us explain to someone our thinking on the function of tools.” Have students come up with ideas like cutting, moving, and writing. Make a list on the board or on paper for display. At this point students should understand that tools serve a function. Check for this understanding by showing students one of the tools or a picture of the tool and randomly selecting a student to identify the tool and its use/function. Make note of selected students’ understanding on a student observation form, if applicable.
Show students a collection of tools. Hold each tool up and ask for student input as to what the tool is and how it might be used. CAUTION: You will be allowing students to handle tools, so take time to discuss your expectations. One at a time pass out each of the tools for students to handle and share with their classmates the name and function of the tool. Select a few of the tools to demonstrate how they might be used. Invite students to the meeting area in the classroom and pair them with a partner for discussions.
Then have students look at the picture of the set of sixteenth century carpentry tools (S-K2-18-1_Sixteenth Century Tools.doc). Explain that carpentry tools are used by a carpenter to build or repair wood items. Inform students that these tools were found on board the carrack Mary Rose (kae rək―a large merchant ship used to transport goods in olden times). One at a time, point to each of the tools and have students think of ways these tools were used and share their ideas with a partner. Select a couple of students to share what they and their partner discussed. Have students think about how these tools look similar to present-day tools.
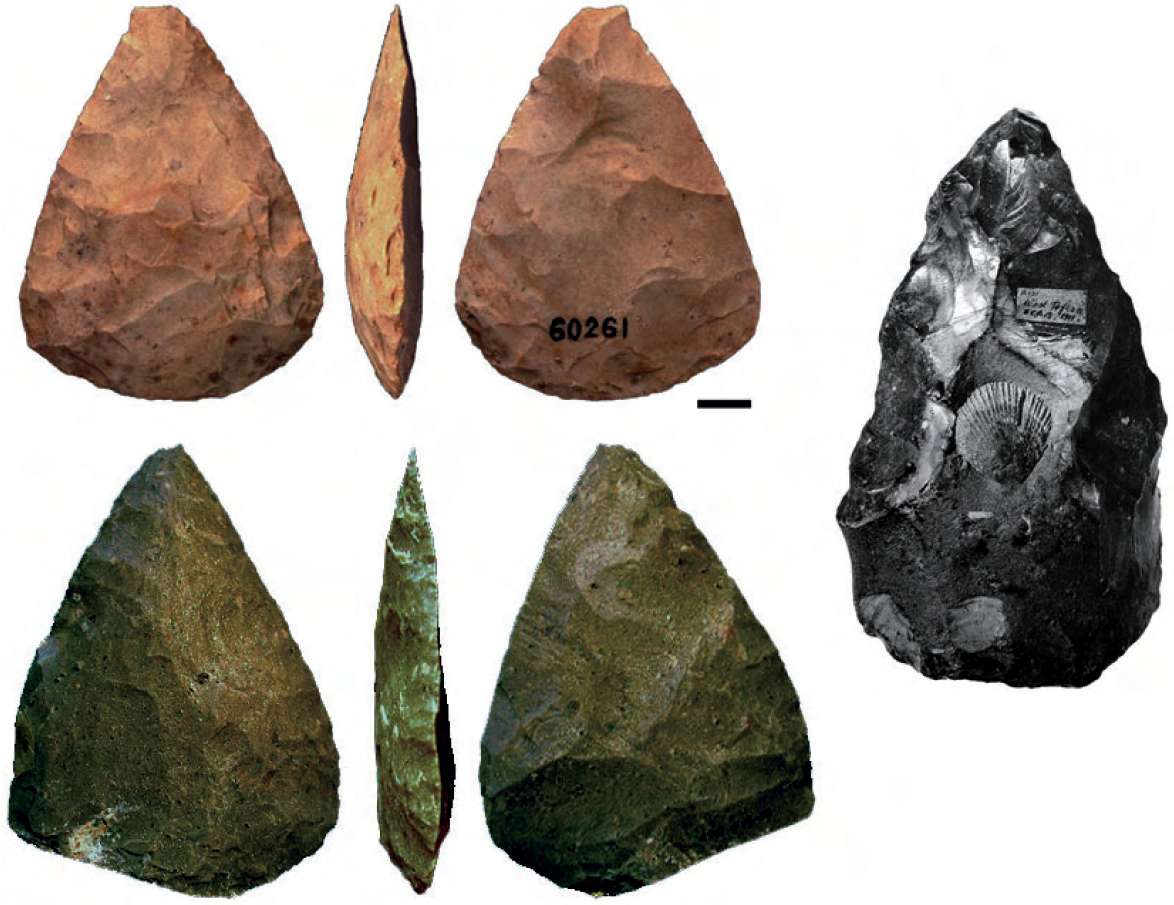
Show students the pictures of prehistoric tools over 10,000 years old, found in Les Combarelles cave, France (S-K2-18-1_Prehistoric Tools.doc). Ask, “How do you think prehistoric people might have used these tools?” Allow students time to discuss with their partner. Select a few students to share what they and their partner discussed.
Say, “Tools help in many ways. Their main use is to help us solve problems in an efficient way.” To conclude the day’s lesson and for homework, ask students to think about a specific tool and what they would do if for some reason they were not allowed to use that tool. What other tool might they use in place of that tool? How might they solve the problem that the tool helps to solve?
Day 2
Tools
Review with students what a tool is, what a tool is used for, and how a tool functions. Give an example of a job such as gardening. Write the word Gardening on the board. Ask students, “What tools might I need to work in my garden?” Record student responses, and discuss each tool and how it works. Discuss other tasks if needed. Create a chart for the class on the board or large sheet of paper. The chart should contain four sections as shown below.
|
Cooking
|
Sports
|
School
|
Construction
|
|
|
|
|
|
Have students look at the chart and discuss the heading for each section of the chart. Ask students to discuss with a partner what type of tools might be used for each heading. Ask the group to give examples of tools used for each category. Note: The categories are broad and can be more specific if needed. When the chart is completed, have several students select one example and tell how the tool functions.
After the class has had the opportunity to brainstorm tools for each category, allow students the opportunity to select their own categories as they complete the chart Using Tools (S-K2-18-1_Using Tools.docx).
Day 3
Activity 1: Tracing a Tool
Say “We have been talking about tools used for building. Today we are going to look at other things that are also tools.” Show students pictures of tools (S-K2-18-1_Prehistoric Tools.doc) and say, “Long ago people did not have many tools like we have today, so they had to use a single tool in many different ways. A scoop might be used to dig or to eat. Many times people found things around them and used them as tools.”
Show students a shell (or a picture of a shell) and ask, “What do you think this shell could be used for?” Guide students to see that a shell was used by people as a spoon for eating. Say, “Tools have changed over the years. People use tools and sometimes they change the tools to make them work better. Have spoons used to eat with changed over time? Can you think of other tools that have changed over time?” Show students pictures of phones that have changed over the years. Ask students if they can think of other examples of tools that have changed. Note: Students may not think of examples such as cars, tractors, microwaves, etc.
Display pictures of various telephones (S-K2-18-1 Trace A Telephone.docx) and say, “Look at these pictures. These are pictures of telephones. How is a telephone a tool? Has the telephone changed? How does the telephone make our work easier? Do you think the telephone will change more? How?”
Activity 2: Nix-O Change-O: Replacement Tool
Review with students what was discussed previously about tools and their functions. Tell students they are going to be looking at tools differently today. Remind students how people used shells as spoons for eating, that the shell was used as a tool.
Students will brainstorm ways to replace a given tool when that tool is not available. Say, “Today I am going to put you in groups. Your group will come up with a replacement tool. The President of the United States has decided to ban all telephones, spoons, and tape. A ban means you cannot use those items for any reason. For a few minutes, think of a tool that could replace the banned tool. Then share your ideas with the group and, as a team, select one of the ideas to develop as a team.”
“The new tool that your group chooses will replace the old tool. It may have similar qualities, but the new tool needs a new name and look. It is your job to brainstorm with the other members in the group for 10 minutes, and then select one idea to be the replacement idea. You will then work with your team to design a poster to present the class with information about your new tool. All group members need to participate in the brainstorming, poster, and presentation. Group participation will be part of each individual’s grade.”
Assess group participation by taking observational notes as you walk around the classroom, noting student and group involvement. Tell students, “Work together and give all group members a chance to share their ideas.”
Give each student a brainstorming sheet to complete (S-K2-18-1_My Brainstorming Idea.doc). Allow a few minutes for students to come up with ideas independently. Then have students share their ideas in a small group for 5 to 10 minutes. After this sharing, have groups work together to come up with one idea.
Give each group a large piece of paper and writing tools. Allow teams time to draw a picture of the new tool, name the tool, and write at least three things about the tool on paper. Once their writing is complete, have students present their new tool to the class.
Extension:
- Students who are going beyond the standards might be allowed more practice using tools. Have students try to draw a perfect circle and practice using a protractor. Then have them use their protractor to make something with circles like a person or an animal.
- Students who might need opportunities for additional learning can look in magazines to locate various tools. Students will be asked explain to the class what the tool is and its function. Take a picture of the student and his/her tool to display in the classroom.
